
Hey curl fam! First of all, let me remind you: we’re in a judgement-free zone. Follow-up question: have you had too much time on your hands and accidentally snipped yourself some whoops bangs (-- hey, Google, can I patent that?) If you searched “how to cut bangs on curly hair” or “how to cut curly bangs” last week, you may be found under “bad curly bangs” this week. Don’t worry, you're not alone and we are here to help!
Yep. I think we’ve all been there. You know, that growth period I affectionately like to refer to as the “awkward stage” of your bangs. Whether you got too scissor happy when cutting curly bangs at home, or they’ve grown past the point of shaggy-chic into Cousin It territory, I am here to guide you through to see the light! (literally.)
Mohawk, Less Problems
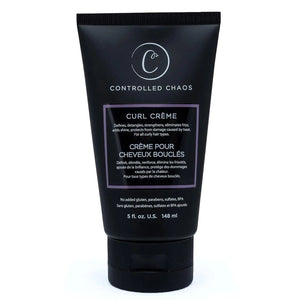
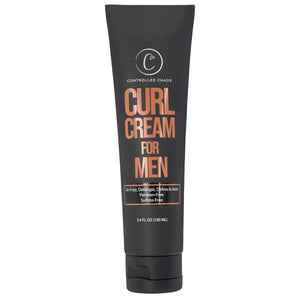
Here’s the good news -- the first ingredient is totally free. WATER. Spray the “mohawk” sections of your hair with water until they are very wet. Gather your hair to pull it back as if you don’t have bangs. Apply your favorite styling product (we recommend our Controlled Chaos Curl Creme.) Normally I would say leave the product to just your mid-shaft and ends, but for this, I suggest going ham -- you’ll need the extra hold to keep shorter hairs in place. Go through each section of curls, scrunching as you go, until you get to your shortest pieces.
Twist and Shout (Recommended Shout: “I Am Hot Af!”)
Twist each curl. Tie shorter pieces in with longer pieces, making them stick together. Insider tip: Twist your curls in their natural curl pattern. If you go against your natural curl, they may come undone. Find your part and make sure you’re happy with it. As we curly babes already well know, your curls have a mind of their own and are subject to run free in all directions, especially bad curly bangs. If they were good- we wouldn’t need to hide them! Start at the root and twist backwards, away from your face. Once you reach your last littlest curlies, add some extra product to ensure they won’t spring away. At this point, all your curls should be off your gorgeous face! We’re almost ready to cue the Bang-Free Boogie!
I Believe I Can Dry
Normally I would recommend air-drying from here, but if time is an ish for you, then bust out your favorite curl weapon -- the diffuser! Resist flipping upside down (i.e. save your twerking for the finished-look-dance.) Set your diffuser to medium and dry hair right on your part, keeping those bad curly bangs flowing back. Once you’re dried, feel free to admire your beautiful handiwork: some of your shorter pieces should have stayed married with the longer ones, keeping them out of your face and out of identifiable bang-territory. ‘Til death do they part!
Blend It Like Alanna
Now’s the time for last minute sprucing. If you need a little more volume, gently rough up your roots, being mindful of your rigor, as you may loosen your very carefully placed and blended curls. If you have a few stubborn shorties that are still insisting that you look better with bangs, simply pin them back with a bobby pin or tuck in place under your longer curls. Voila! Let’s see a straight-haired babe pull this one off.
And there you have it! My super easy, fast and fun way to blend your curly bangs. If you really want to give curly bangs another try, make sure you see a professional stylist who knows HOW TO CUT BANGS ON CURLY HAIR, not just how to cut any ol’ bangs. Or, watch our video about how to cut curly bangs for a one time chance at getting it right. I’ll try anything twice, right? Until we meet again, curl friends!
